CollectionViewのカスタムセル
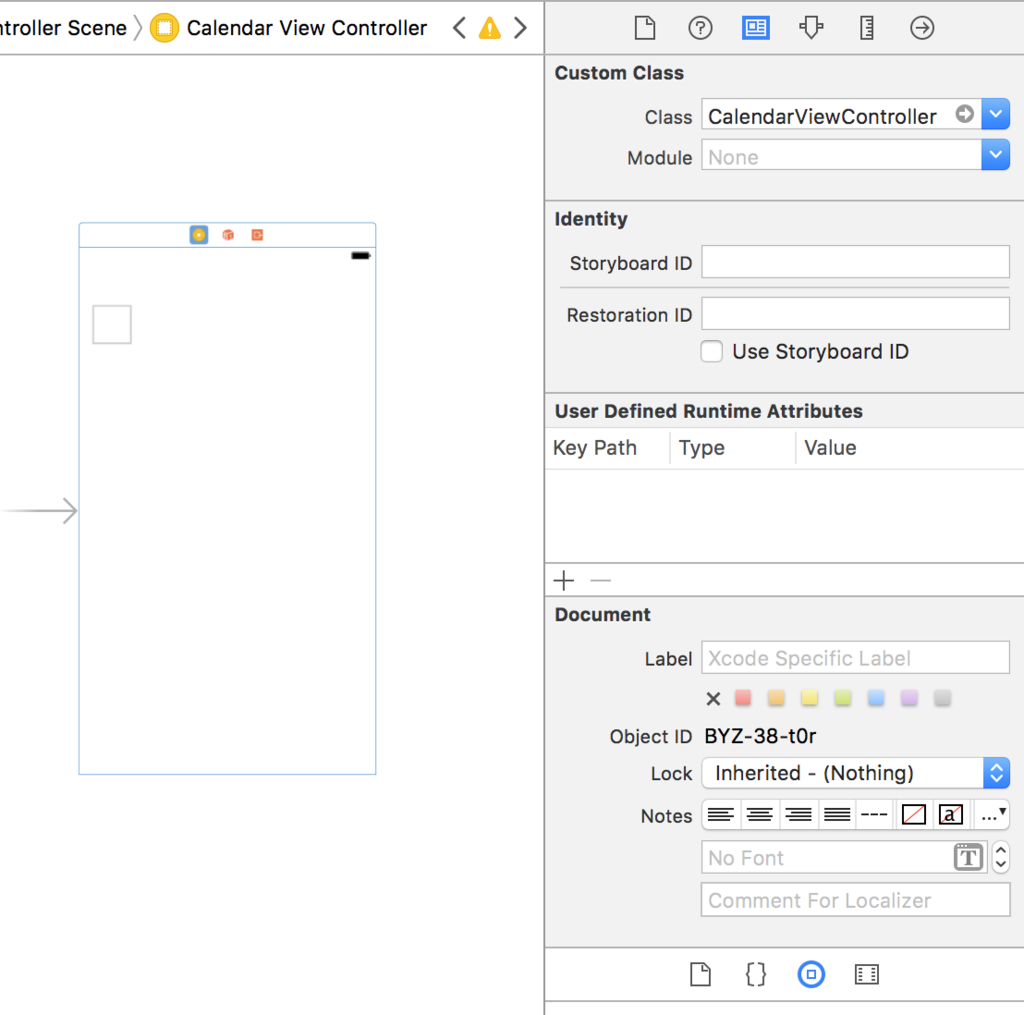
まず、controllerViewのクラス名変更したらストーリーボードも変更することを忘れない

collectionViewをはったらヘッダーファイルと紐付け
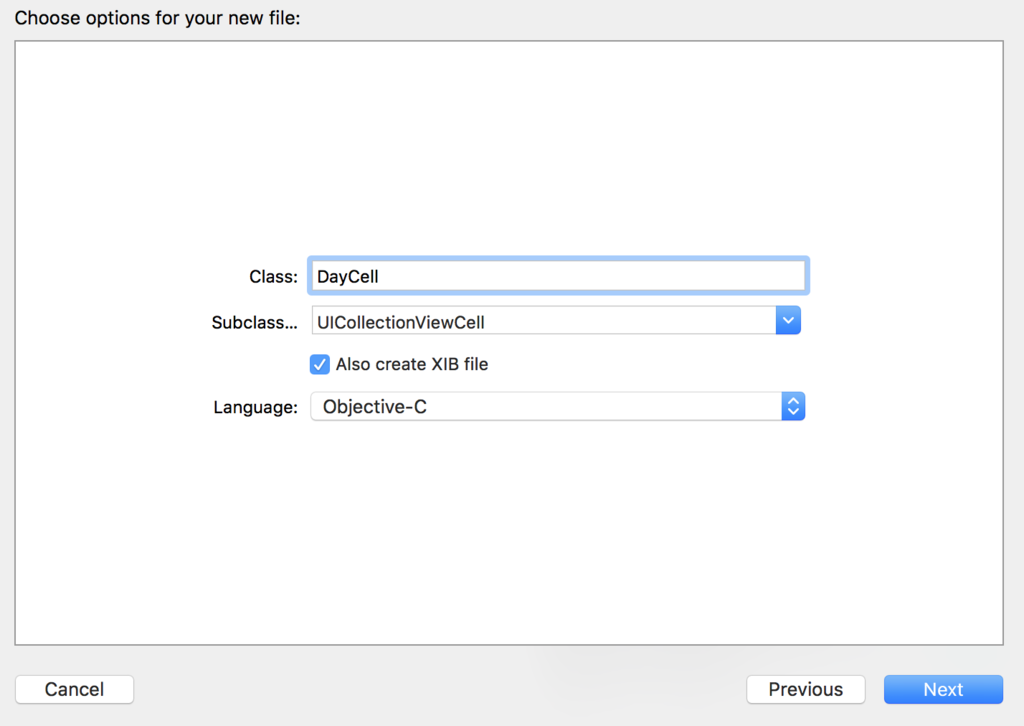
 xibファイルもセットで新しいUICollectionViewCellクラスのファイルを作る

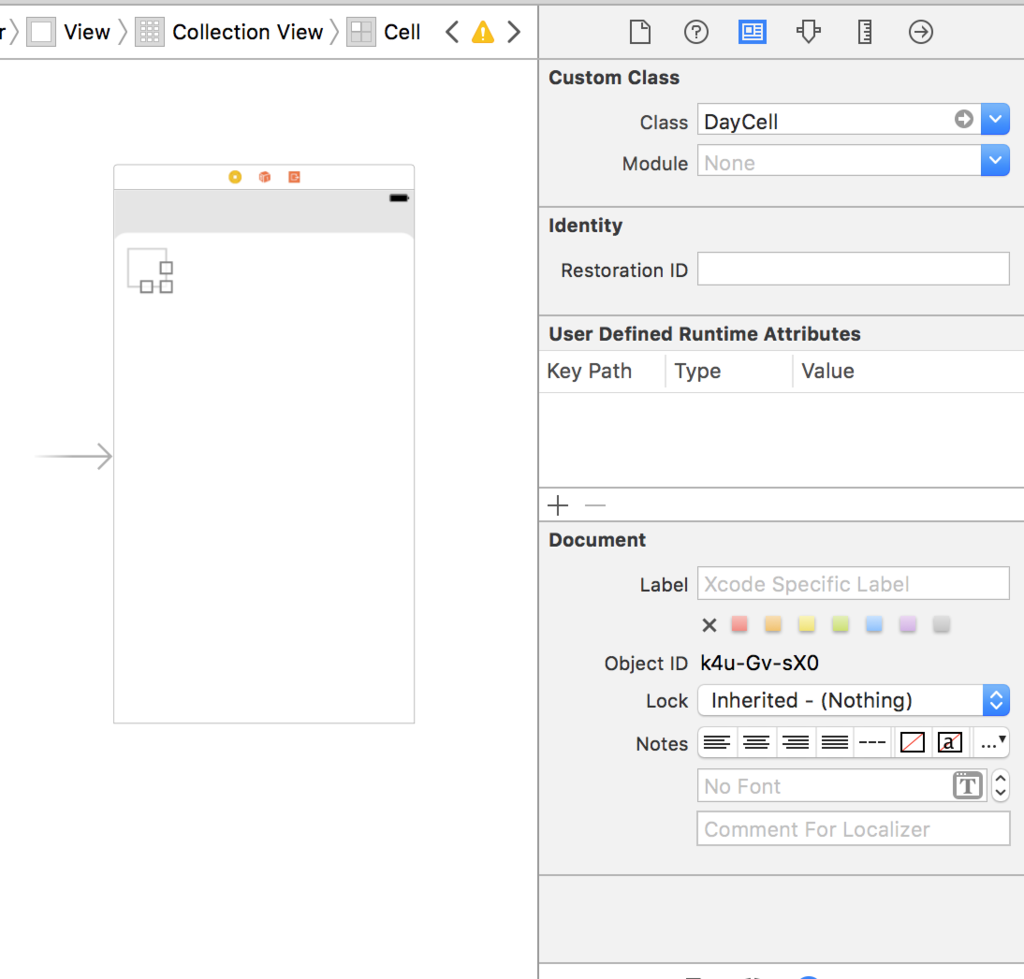
ストーリボードでクラス名とセルのIdentiferを設定する


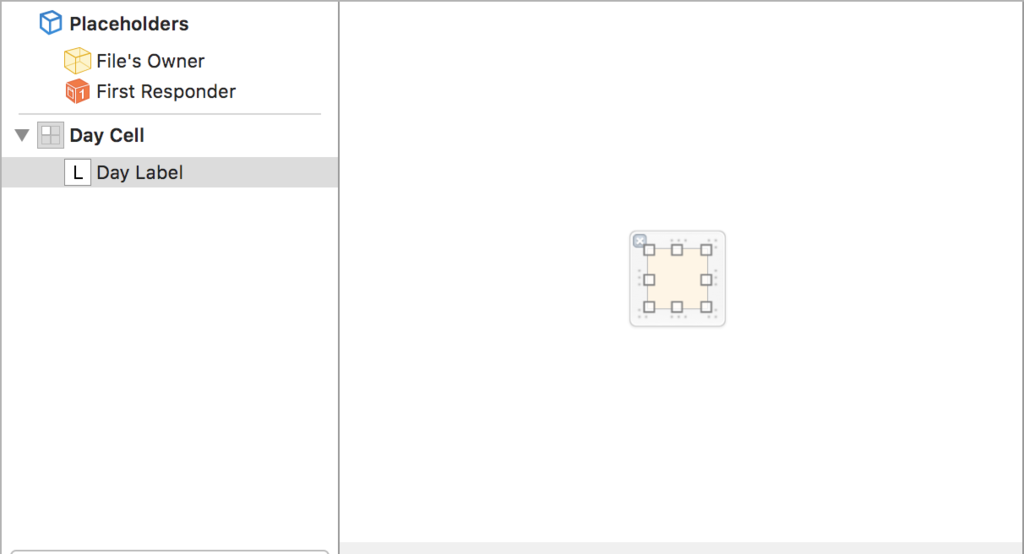
xibファイルはこんな感じでラベルをつけてDayCell.hに紐付けしておく

コードの実装
- (void)viewDidLoad {
    [super viewDidLoad];
    // Do any additional setup after loading the view, typically from a nib.

    rows = @[@"あ",@"い",@"う"];

    //xibファイルのセルを(UICollectionCellクラスのファイル生成時に作ったのでxibファイルはUICollectionCellと元々結びついている)ストーリボードのセルと結びつける
    UINib *nib = [UINib nibWithNibName:@"DayCell" bundle:nil];
    [self.collectionView registerNib:nib forCellWithReuseIdentifier:@"Cell"];
}
- (NSInteger)collectionView:(UICollectionView *)collectionView numberOfItemsInSection:(NSInteger)section
{
    return rows.count;;
}


- (UICollectionViewCell *)collectionView:(UICollectionView *)collectionView cellForItemAtIndexPath:(NSIndexPath *)indexPath
{

//セルのインスタンス生成しストーリーボードのセルと結びつける
 DayCell *cell = [collectionView dequeueReusableCellWithReuseIdentifier:@"Cell" forIndexPath:indexPath];

//    DayCell *cell = [collectionView dequeueReusableCellWithIdentifier:cellName
//                                                       forIndexPath:indexPath];

    // カスタムセルのラベルに値を設定
    cell.dayLabel.text = rows[indexPath.row];

    return cell;

    /* 標準Cellを使用する場合
     NSString *cellName = NSStringFromClass([UICollectionViewCell class]);
     UICollectionViewCell *cell = [collectionView dequeueReusableCellWithReuseIdentifier:cellName forIndexPath:indexPath];
     return cell;
     */
}
このように、①xibとストーリーボード結びつけ、viewControllerで生成したUICollectionViewのインスタンスとストーリーボードのセルの結びつけという2段階。
結果

参考: tableViewの場合